No matter what makes you edit the Windows registry then it’s always wise to have a backup of the Registry so that you can restore the changes if something went wrong.
How to Create Backup of Registry in Windows 11 | 10
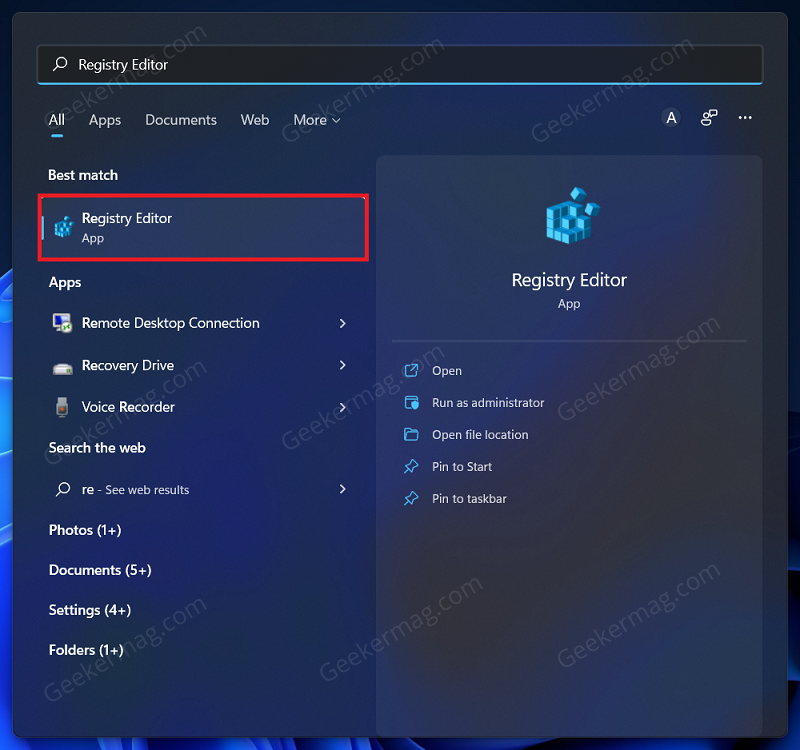
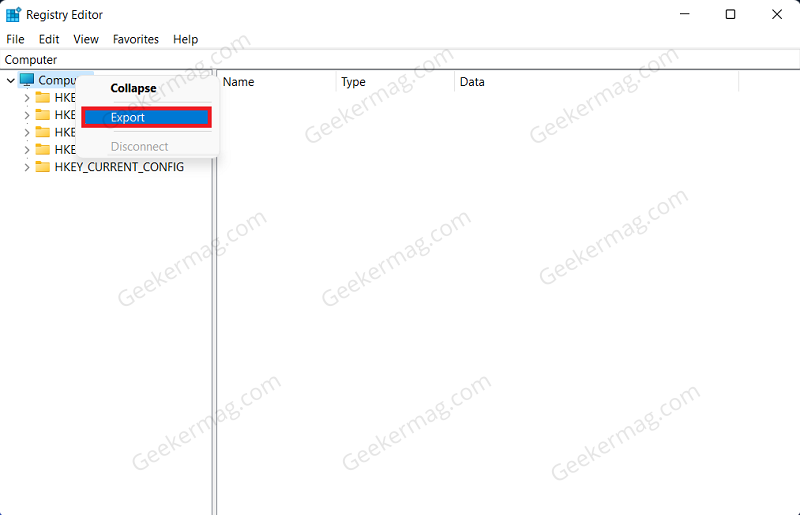
If you landed on this blog post, then it’s highly possible that you don’t how to create a backup of Registry in Windows 11 or Restore it, right? So let’s get started: In case, you’re Windows 10 on your PC, then the steps are the same Windows PC has a scheduled task that will automatically backup your Registry when the system is idle. These backups of the Registry are stored in the following location: C:\Windows\System32\config\RegBack You must manually take the backup of the Registry before you go ahead making any changes to it. To do so, follow the steps given below- Press the Windows key on your keyboard to open the Start Menu. In the Start Menu, search for Registry Editor and hit Enter to open it. In the Registry Editor, right-click on the Computer and then click on Export. You will now have to enter the name of the file and select the location of the backup to be done. You will be able to save the file type in the following formats-
.reg (Registration File)Registry Hive Files.txt (Text Files).reg (Win 9x/ NT4 Registration File
Now, press the Save button to save the backup of the Registry in Windows 11/10. Note- If you want to back up a part of the Registry, then simply navigate to that Registry. Click on File and then click on Export. You will be able to export the registry in the same way as you did above.
How to Restore Registry in Windows 11
Restoring a Windows Registry in Windows 11 and Windows 10 is super easy. Here’s how you can do that: Open the Registry Editor on your PC. Click on the Files and then click on Import in the Registry Editor. Now, navigate to the location where you saved the Registry backup and select it. Click on OK and the backup will be restored. Alternatively, you can restore the registry by double-clicking on the Registry file that you backed up and it will be restored automatically. I hope this helps!


